In the morning I started with gluing some foam pieces of the foil together because the foil was to long to make in one piece.
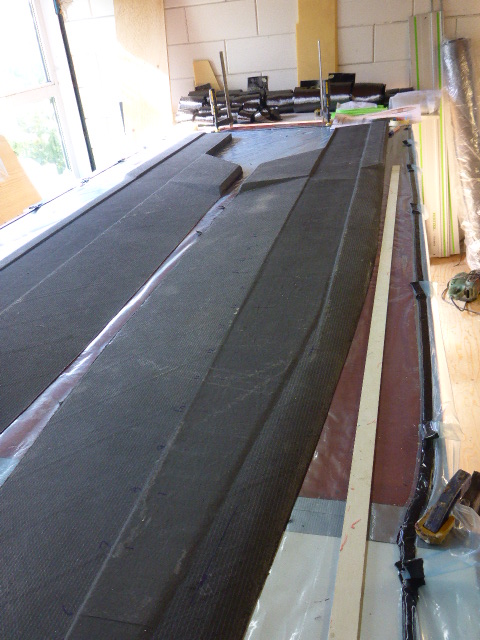
Nico did route the profile for me out of the foam in steps of a millimeter so that I only have to sand it till all is smooth. I then went to the main hull to sand that fine so we could fill pin and small holes in the afternoon. After that I started with sanding the profile of the daggerboard and to make the laminating table longer for the daggerboard. In the afternoon we started first to glue the top end of the dagger board to the foil piece.
We then did some filling of some pin holes on the main hull. On the end I filled some screw holes in the foam of the daggerboard. The were there to hold it in place while the router was shaping the foam.


 I did not had much time this weekend to work on the boat because we did some sailing again. I first did sand the first layer of filler before I put the blue filler on it. Nico made a pdf for me with the profiles of the dagger board so that I only had to cut it out and transfer it to some triplex to get the profile right in the middle section were the carbon UD canal was.