


 In the morning I did some shopping at my hardware supplier Stainlessproducts and A+ rigging to get some bolts and cleats. In the afternoon I drilled the holes for the cleats in the anchor locker and the hinges. I also did glue some tube and did a trial fit of the folding kitchen table.


 Today was very cold so we could not paint or epoxy things. So we started with measuring the screws and bolts what we need to buy tomorrow. We took the rudder plug home and placed if for the heater to harden it more. We then went to Thrill Seeker to get a look how it was standing and if we need to do some thing because we get some visitors for it Wednesday. When we got home I did get to the shed again and did take the rudder plug with me and sanded it. When it was smooth I did give it another layer of primer. For the rest of the time I did some small jobs like drilling holes and gluing some PVC pipe for the toilet.
 Today I started with the rudder plug to sand it and give it a layer of primer. But before I could prime it I had to warm the shed more because it was only 6 grade Celsius at that time. So I decided to drill some holes for the water tube and the holding tank tube. The tube for the water had to go true the locker so every bottom of the locker had to be drill true. I did some trial fit of the tube and it looks OK now, I only have to seal the foam with some epoxy. In the afternoon I drilled the holes for the escape hatch, the mast base. I glued on the back were the hinges are some little triplex piece to give the crews more holding ground. As last thing I drilled the holes for the locker hinges. some were in between I put also a filler on the rudder plug.


 I took some hours free in the afternoon to paint the deck and the side with a first layer of DD paint.


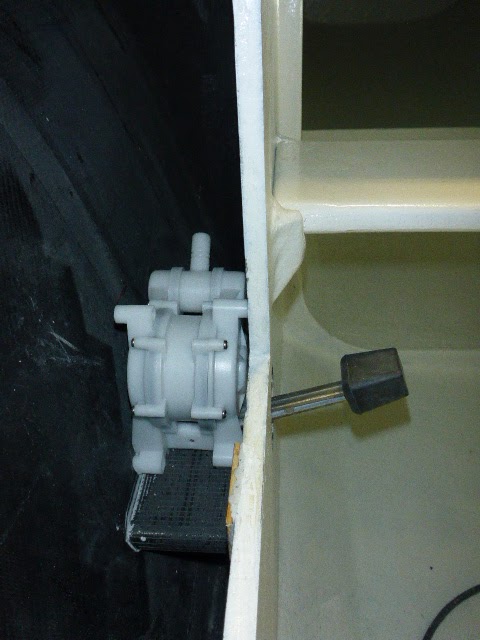
 Today I did a lot of small things, it does not look much but takes a lot of time. I started with looking at the clear coat from yesterday and it looks rely good, it needs an other layer of it to finish, but it is still to soft to sand it light. I then drilled some holes to hang the fridge module on the top with some screws. This was temporary because the inside needs another layer of paint. Fetske did come a little later and did some sanding of the primer by hand. The primer is not hard enough to do some more sanding. In the afternoon I started with drilling holes for the main sheet traveler. We then made a grove in the tube of toilet entrance so a soft door can be placed in the grove. On the end we painted the inside, there were still some places left what did need some paint. Still not finished because we could not do every thing others we did toughs the paint.


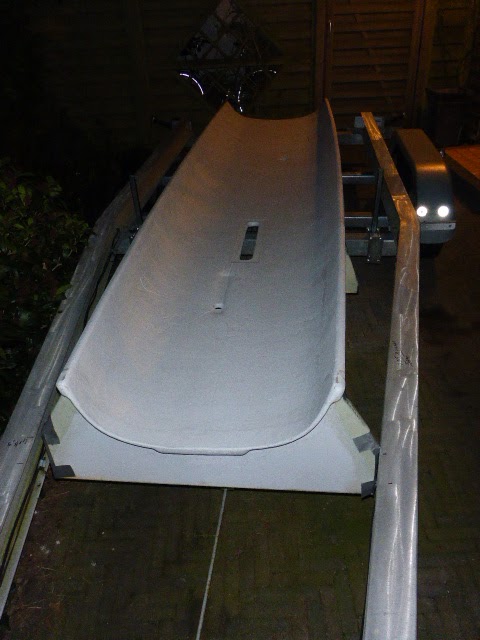
 Yesterday morning I sanded the window edges and in the afternoon we brought our trailer back to make him on the right wide. Today we did a lot of sanding on the outside, In the afternoon Fetske did start with another layer of primer and I started with some carbon art pieces to paint them with blank epoxy. When I was finished I help Fetske with the rest of the primer.


