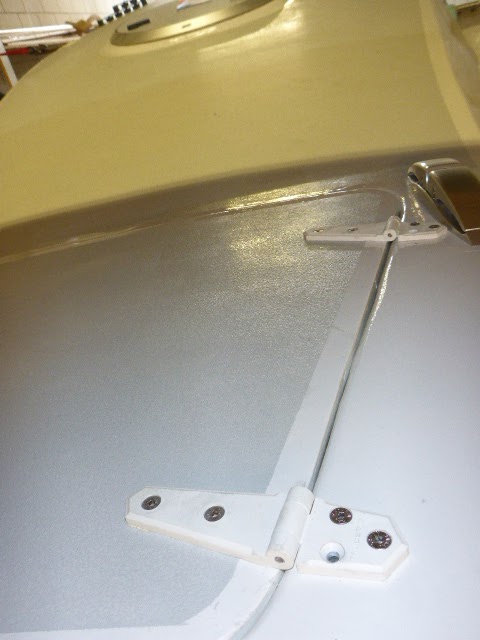
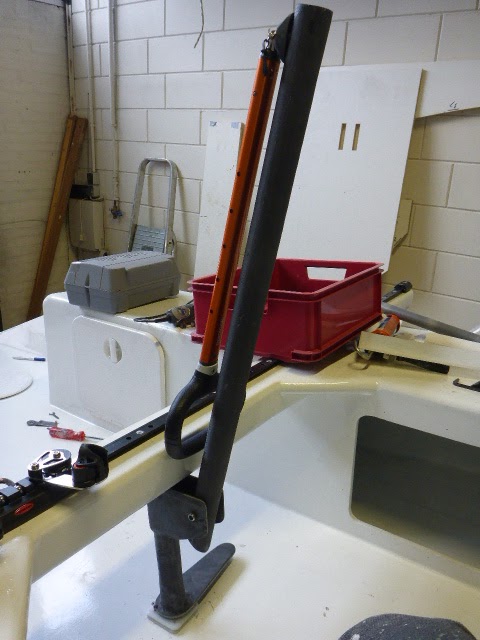
I started with putting a filler on the navigation light bases and on some spots of the rudder assembly.
Then the cleats for the bailers and the winches got some attention. The rods in the trampoline tubes were made on the correct length and placed in the tubes true the small holes. The gas lever had to be altered from pull to push, this was little work. The tubes for the fridges were connected in the right order but not vast-end because of lack of time. The water hose in the toilet were also clamped and I put some bases for tire-raps under the hoses. In the afternoon we went to Thrill Seeker to bring the last stuff so that we can sail next weekend and have some races.
Sunday, May 14, 2017
Saturday, May 13, 2017
placed some cable ducts
I started the morning with sanding the rudder bracket and directly after wards I put some primer on it. The navigation lights bases were sanded and glued in place with some putty but I forgot to take pictures from it. I clued in some tubes in the back were the the mast support fits in so the water can come out
I then did give some attentions to some kickers for the bailers and the spinnaker winches. I drilled some holes for them and filled them with some bond what get very hard. This bond can be drilled later for putting some screws in, with the same bond I glued tread in place on the end of the traveler so I could finish the ends. On the end of the day Fetske did came to paint the rudder parts and I placed some cable ducts with 3M VDH tape and did works very well, I think I only place some screws on the end to be sure in hotter climates that it stays in place. I have to order some new tape because I had not enough for the rest of the cable ducts.
Friday, May 12, 2017
Placed the new spray-hood on Thrill Seeker
In the afternoon I did get some bold's and a pair of gas cables for the motor. On the end we placed the spray-hood on Thrill Seeker.
Thursday, May 11, 2017
Primer on the rudder components
Yesterday I put some filler on the rudder components and made some base for the navigation lights.
The bases were made of foam and put to the sides with some putty. They have to made smaller and more round but the lights are now standing in the correct angle. Today I put some filler on the rudder components, the bracket will get another layer of filler now I can better see the imperfections.
Sunday, May 7, 2017
The difference between the normal and HA rudder
Yesterday and to day we spend the most with Thrill Seeker to put him in the water and make him ready again. On the end off the day I did some small thing on the rudder bracket and put the first layer of filler on it. I had to touch-up the rudder of Thrill Seeker so I could see the difference between the two type of rudders. As last job I cleared wax plate of the rudder. This was a sticky thing and there is still some residue left on it what needs to be removed before the final layer of paint.
Friday, May 5, 2017
Still working on the rudder bracket
I glued some glass fiber tubes in the tiller were the bold go threw to isolate them from the carbon, but I forgot to take some pictures of it. I did some various small things like mounting the tail light, the air hose for the wast tank, drill a hole for the outboard cables and put a tube in it, measuring the length of the gas cables and put a tube on the side of the rudder bracket for a emergency tiller.

Wednesday, May 3, 2017
the remote tiller is slowly coming together
The last days I did took some hours free on the end of the day to do some thing on the tiller and it is started to look something. I place also some pictures of what I forgot this weekend. Frank of More marine brought me a Spinlock tiller extension so I could directly trial fit it on the tiller.
Subscribe to:
Posts (Atom)