Saturday, January 19, 2019

Update on water tank

Yesterday I glue a glass-fiber tube in the thank and glued some other hose fittings on the lid.
Today I glued the lid on the tank with some putty, tomorrow we put some tape on the outside edges.

Sundays update

Sunday, January 13, 2019

The water tank is slowly getting get shaped, I did do over the weeks constantly some small steps.
This weekend I put two layers of special coat for in water tank. Yesterday I placed some line guides on the float bows against shave from the lines for the bow fenders. I laminated also the lid for the water tank (no pictures of it yet). Today we placed a longer swim ladder to get easier out of the water, the other one was a bit short.
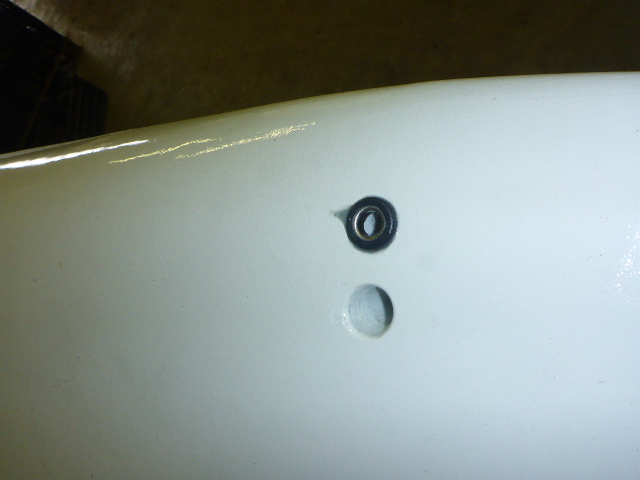
We sealed two drain holes for the comings with some putty were we drilled in some holes because the water did stay in there. On the same comings I had to cut some of the corner because the beams did lightly touch there when I fold. Last weekend we complete the shelf in the fridge, only some paint on it.

Thursday, December 27, 2018

Making a water tank

On thing on the to do list was making a water tank. Last days I already made some panels for the tank and yesterday we glued them in place with some putty. Today I put some fillets and tape in the corners. It was a bit difficult because I made the water tank under the waste tank and had to lay half up side down to tape the corners.


Sunday, December 16, 2018

To do list

We are going to make a to do list for this winter season.
I already did some things.

  • Moving the thermostat from the fridge.
  • Making a protection for the VHF.
  • Routing the instrument cable.
  • Repairing the breaking strips and bolts of the rudder bracket.
  • Give the rudder some more room on the sides to make a bigger angle.

Saturday, December 8, 2018

Canting rig option setup

I put some pictures up from my canting rig option
I used some Colligo blocks for the cascade
For the top I used the CSS71-0
For the cascade I used some stacker blocks SSB-6 and SSB-9
On the chainplate I did use the CSS91-0
On the chainplate I also used a low friction ring to guide the line aft.
On the beam I used a constrictor 8 to hold the line and a Karver block on the deck near the beam.


at 15 seconds you can see the setup
Sorry for the crappy sound camera is not 100% ok

Saturday, November 10, 2018

Thriller is out of the water again.

Yesterday we pulled Thriller out of the water again. It all went not that smooth I thought I could drive the boat out of the water with the rudder partially up but it was not enough, so the aluminium bolts and the gliding strips sheared 😥. The rudder has almost nothing. I will come back on that later.
The other thing we had that the mast foot did bent a little and I think that this has to do with the raising wires to lose and I forgot to check the aliment of the pivoting point of the raising wires. So these things will be put on the to do list to. Fetske made a list on the other side with things we can do this winter, but some will be skipped this season.


Monday, August 6, 2018

some interior updates

It is been a while before I posted a update, we are still tweaking the sail setup and by shortening the front stay to give it a more neutral helm, I think its now ok. The Colligo jib furler is now also working perfect and rolls smooth-less, We made some bags on the inside for charts and anchor ball and put them in place. At the moment I am busy with the rotating sensor and I will post some pictures when that is finished. Friday we demolished the extension of our garage what was build to make the floats, now the painter can do his job.
Sorry for the quality of the movi, our camera is making noise so that is what you hear.