Wednesday, June 29, 2016

primer on ceiling in the front

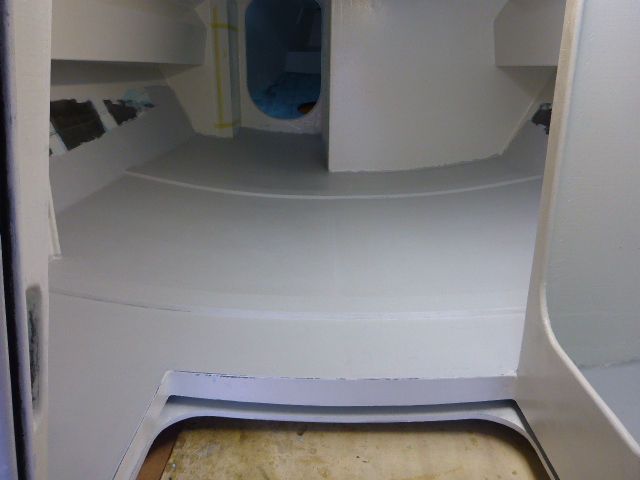
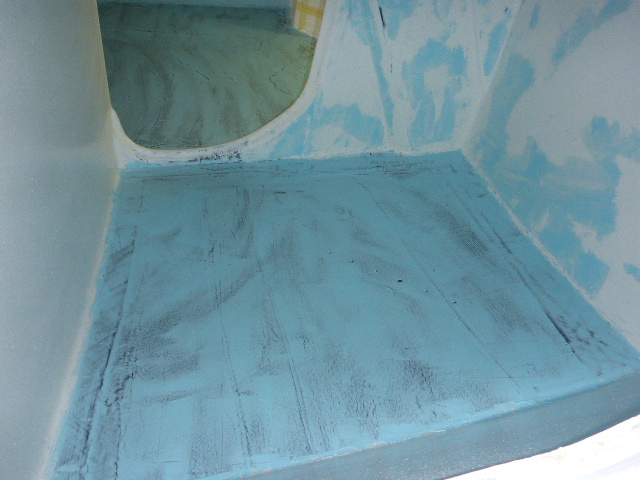
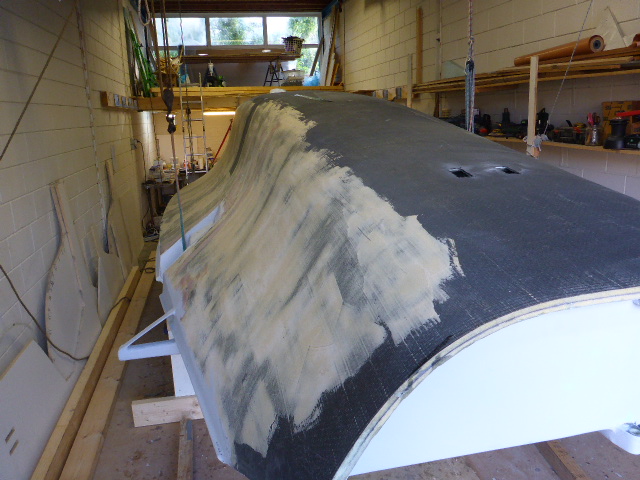
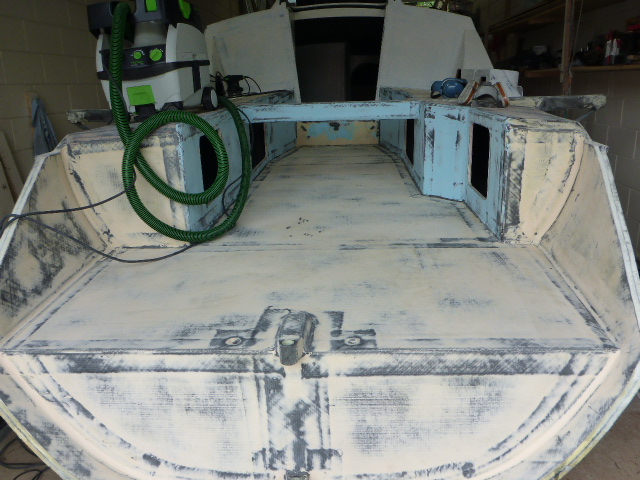
I only had the morning to do some work, I first sanded the filler in the front before putting some primer on the ceiling. I than sanded the rest of the ceiling and after it was all finished I decided to put some filler in the middle were the two halves were put together.

Tuesday, June 28, 2016

put a primer on the ceiling

I spend the whole morning with sanding the ceiling so that we could put a primer on it. In the afternoon I started to put some filler first on the front sealing where we put some tape for the escape hadge. By the time I had finished that Fetske did arrive so she could do the primer on the rest of the ceiling. After the tea break we dremeld the after edge to fill it with some putty filler. After that I did sanding the outside for the rest of the time.


Monday, June 27, 2016

put a filler on the ceiling

In the morning we started with clearing the mess of yesterday so that we have a clean floor and working space. Before lunch Fetske prepare some carbon pieces for laminating the top escape hatch and the after edge. After lunch I started already with putting partially a filler on the front ceiling. When Fetske arrived we laminated some tapes together. After the tea break I started with filling the rest of the ceiling.


Sunday, June 26, 2016

upside down

Today my friend Rob did come to assist me so we decided to turn the boat upside down. We first made some supports so that the waterline is leffel when the boat is upside down. In the afternoon we started with the turning and Fetske did give also a hand to. After a hour of four the boat was turned.


Saturday, June 25, 2016

some more filling ,priming and painting

In the morning I started with priming some parts and the kitchen floor. When that was dry I filled some low spots. In the afternoon Fetske did come to help me, while Fetske did paint the inside front I did some primer inside the comings and the traveler.


Thursday, June 23, 2016

Put grey primer on the cockpit and beams

In the morning I started with putting grey primer on the top of the beams. In the afternoon I started with sanding the cockpit floor till Fetske arrived. Fetske was going to do the inside again. I started with putting grey primer on the cockpit. After we finished we went home where I did  the underside of the beams with grey primer to.

Wednesday, June 22, 2016

Cockpit floor sanded and filled again

In the morning I started with sanding by hand the paint we did yesterday to get away the pieces of the dissolving roller. When that was done I put some old sanding pats on the sander to get of the top layer of the filler. The microlight top tends to fill the first sanding pads. When I had done the complete floor I put some new ones on the sander to make it really smooth. In the afternoon Fetske started with the interior paint again. This time we did a little different approach. First roll the paint with a normal feld roller and roll over it again with the structuur roller. This time the roller did not leave pieces behind and the result very good see picture. While Fetske was painting I filled a low spot on the bow and the cockpit floor with blue filler.


Tuesday, June 21, 2016

painting the interior

In the morning I cleaned the beams so that they can get a primer later. They were a little dusty because they stayed in the storage for a long time. In the afternoon I sanded the the cockpit seats to give that also a layer primer later. The cockpit floor was still to soft to sand. Than Fetske did come with some tea and after a short break we painted the inside with DD paint with some aeroseal in it. We used a structuur roller to give it some structuur finish. You can see on the pictures some rest of the roller who was dissolving. With a light sanding and a final paint layer they will be gone. We put a total of 1800 gr on it. You can not do it all in one go because of the risc to lean to the fresh paint. Tomorrow another part.


Monday, June 20, 2016

put a filler on the cockpit floor

In the morning I cleaned the cockpit floor from debris and peel ply while Fetske route out the after sides and the anchor hadge, When that was done we filled the edges with a putty of glass bubbles, microfibers and glas snippers. In the afternoon I put a filler on the cockpit floor and sides while Fetske put some primer on the side and the front. Fetske had to leaf early so I did some primer on the other side.