I wish you all a happy new year and a good sailing season.


 I started with looking in the tool shop for a router bit what could cut the trampoline tubes, I could not make up my mind directly what to buy so I first went to the shed to draw a hole on the tube to look if it was big enough. I then marked the places on a tape what I did put on the tube were the holes have to come. I made also a tool for my router where the router slits over on the tube. I sanded the deck before I did get home. On the way home I drove to the tool shop to buy a router bit. In the afternoon I made the first cuts out of the tube. It is handier to do it with two people and the rest have to wait til tomorrow when Rob comes to help and spend new years evening by us. I then did some sanding again but I did find that the primer was not hard enough so I stop with it. Then Fetske did drop by with tea. After the tea break I started with drawing the cutting lines of the windows. I did cut the vertical lines and the tops with a multitool but I left the bottom ones in place so they still are in place so when we cut the tubes tomorrow the most dust stays outside. When the tubes are cut we cut the bottom halves of the windows.
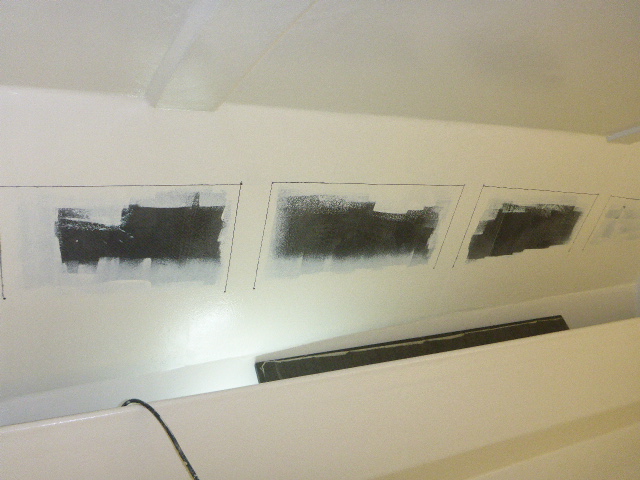


 In the morning we started with the back panel. We did this with vacuum because it get nicely pressed to the hull wile it is drying. With the leftover epoxy I did the ends of the hammerhead. After lunch Fetske dremeld the locker edges and filled them with putty. I did put some blue filler on the outside of the hull to get away the ugly spots.


 Today my friends Rob and Reijer went by to help us turn the boat around. I took us the morning to turn it around and in the afternoon we made the supports to hold the boat level. We did stop early to have some nice dinner what Fetske made and celebrated the turning. I have made a time laps video but I must make it on YouTube and with the new computer I have to find my way again to do it.


 I started the morning with the after support to glue it in place with some putty and make a nice filled in the corners. After some shopping and lunch the filled was a little stronger but still tacky, I tape over it with some glass tapes without harming the filled much. After a tea break we went to the shed to put another layer of paint on the underside, I hope this will be the last one. For next weekend we have plant to turn the boat back again.

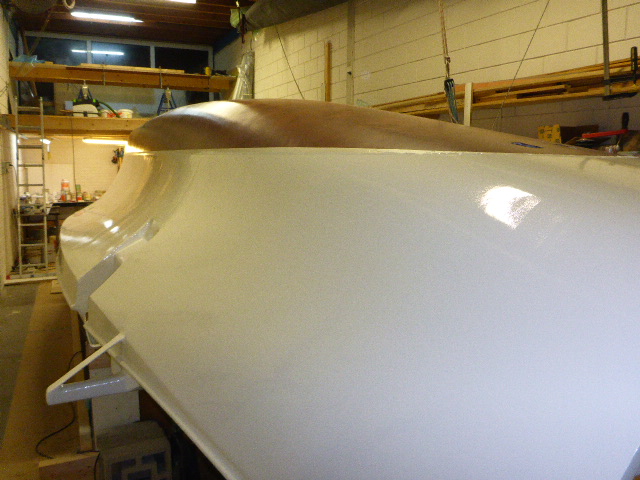
 Yesterday we painted the hole hull so all the blue spots were almost gone, did did little shine thru the paint. I also painted the dagger board for the last time for the moment. I have to decide if I paint it jello or orange. Today we went shopping for some MDF to make a plug for the rudder mold. We did buy some painted MDF because this stays more stable and strait when it is routed. I got this tip from Nico and he got it from Henny. In the afternoon I started with cutting the pieces and to glue them together. One half is made up from 12 mm and 9 mm. Nico did make a nice drawing so I did exactly know what to cut. When that was ready I did another paint layer on the whole boat. The blue spots are hardly to see now and it looks good. Tomorrow I put another layer on it.