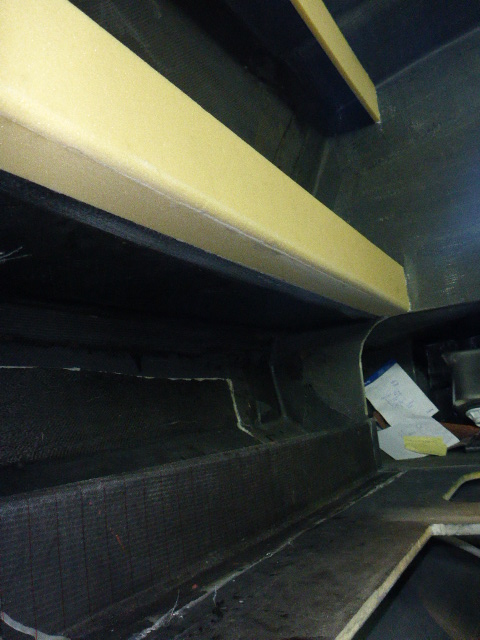
I made a tube from the side where the isotherm SP fridge will come to the kitchen. In this tube will come a hose for wash water. I will connect this hose with a T piece to the SP thru-hull fitting the other side will go to the toilet. The pipe under the floor is tape over with some carbon. I laid some extra carbon in the corner where it come out of the floor before it goes in the kitchen. In the corner I put some foam so if there comes water over the floor it will not be trapped in the corner.
We taped the flans were the the kitchen will we glued on, on the vertical bottom half we made some flans to, the rest is easy resealable from the top.
We laminated the first stair step so this can be fit when the kitchen panel is fit.
The top of the sliding hatch is now glued to the deck it still need some tape on the edges later.
I finally decide to spend some little time on the carbon toilet mold. I glue them to some multiplex end grind ed off some edges. I will first prepare the top, this mold was taken from the Lavac of Thrill Seeker and has the right shape. I can the see how it is going. If this goes well I will prepare the bowl, this must be a little bit reshaped because it is oval and must be more rounded so the top will fit, but that is for later.


 Update after demold
 I started with placing the lower step, it sits very tight so have to cut some off later. The little pieces still have to get some carbon but are already strong enough to stand on. I did some little work on the mold for the top off the toilet and I can put some packing tape on it for laminating later. I then glued some pieces of foam together to fill the underside of the toilet entrance, the same I did for the top to get a nice rounding. I glued this with some PU foam in place before lunch. After the lunch we glued a PVC pipe in place, This pipe will be used to hold the soft door. When that was dry we started with some putty to fill all the holes and edges and laminating over it.


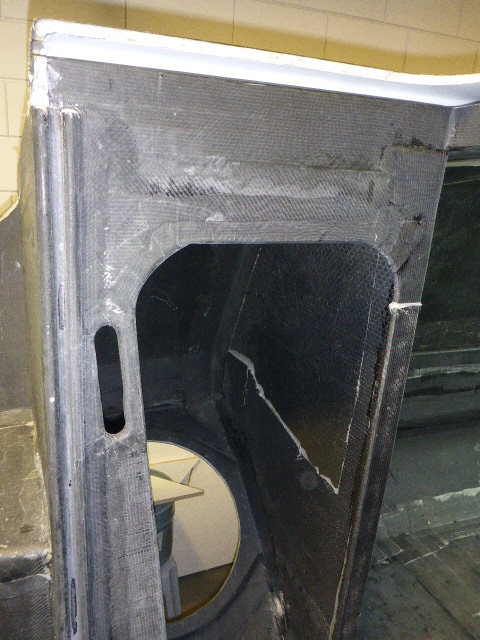
 I started the morning with making the lower step to fit between the panels. When that was done I made two pieces were the lower step will rest on and glued them to the panels. In the afternoon I made the floor panel fit, I had to grind some foam away were the tube comes out of the floor. I than started with some taping work, I taped the outside of the sliding hatch cover, the ride front side of the kitchen panel, the end of the raised floor edge and one side of the raised floor panel.


 I decided to fill the space between the stairs and the kitchen with a small piece of foam this gives some more space on the kitchen top. It is not good to see in the picture because I was in a hurry to take the picture. After cutting the foam I rounded some edges and started with taping the inside of the front panel. As final job I taped the outside edges and the extra foam piece. I could not do the underside of the foam piece and right side of the front panel because I had to lunch and get to my work to do some extra work there.